Glamified Easter Eggs
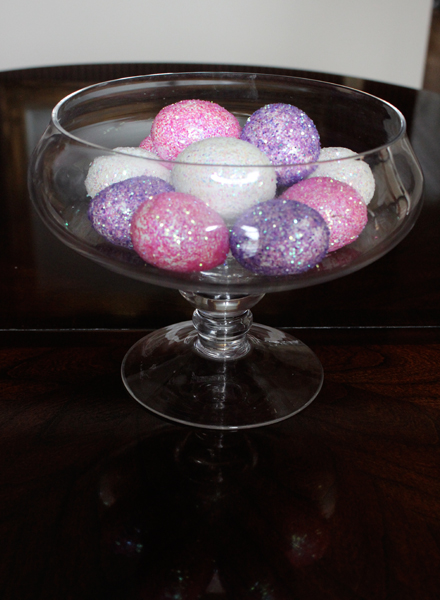
You may have noticed by now that I really like Mod Podge and glitter (Example A). Though what’s not to like, really? With Easter around the corner, I decided to break out my two favorite crafting supplies and create a colorful Easter egg centerpiece. The end result is really pretty and as with most of my DIY projects, takes very little skill. If you’re eating Easter dinner out, set these colorful eggs in a glass bowl to present to your host/hostess.
The only supplies you will need are hard boiled eggs, glitter and Mod Podge (Matte Sealer and Clear Acrylic Sealer Spray). Here’s how to make the eggs:
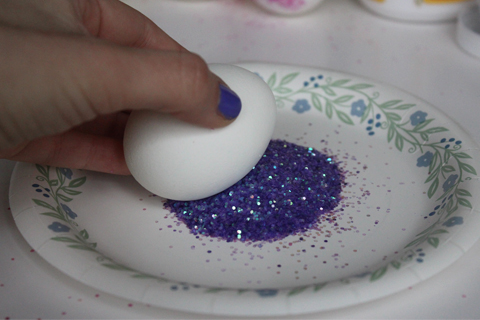
First, paint a thin layer of Mod Podge onto one side of your egg.
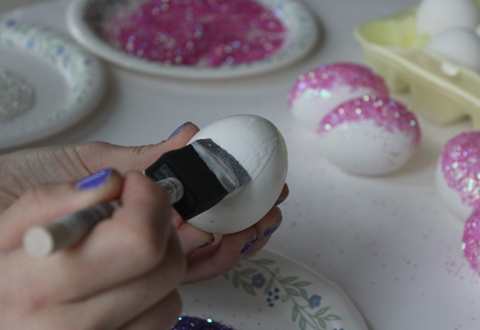
Quickly sprinkle on or roll the egg in the glitter (before the Mod Podge dries!). Lightly tap off any excess.
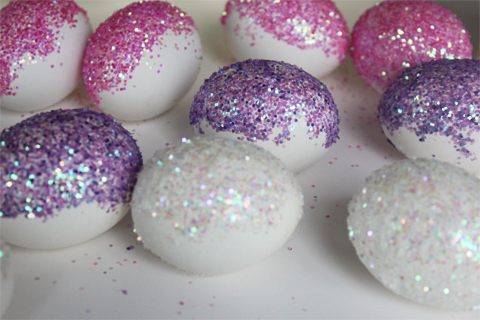
Carefully set the eggs down to dry for at least 20 minutes before repeating the same steps on the other side of the egg. Allow eggs fully coated in glitter to dry over night.
The following day, spray on Mod Podge Clear Acrylic Sealer. I did two coats, waiting 15 minutes between coats. This will help ‘seal’ on the glitter.
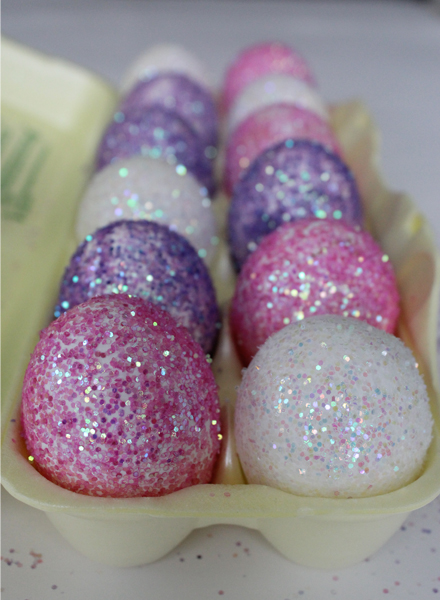
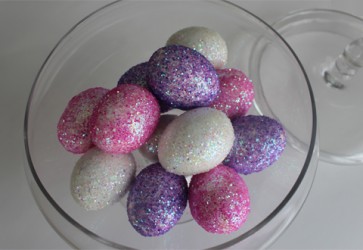
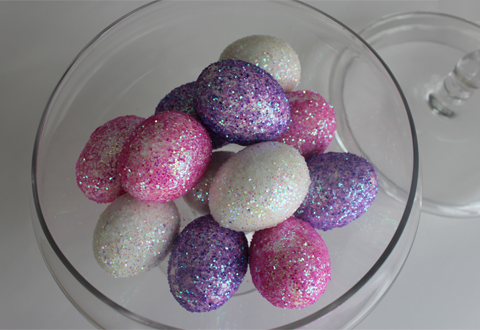
Another look at the finished product: